De-Cruft Visual Studio
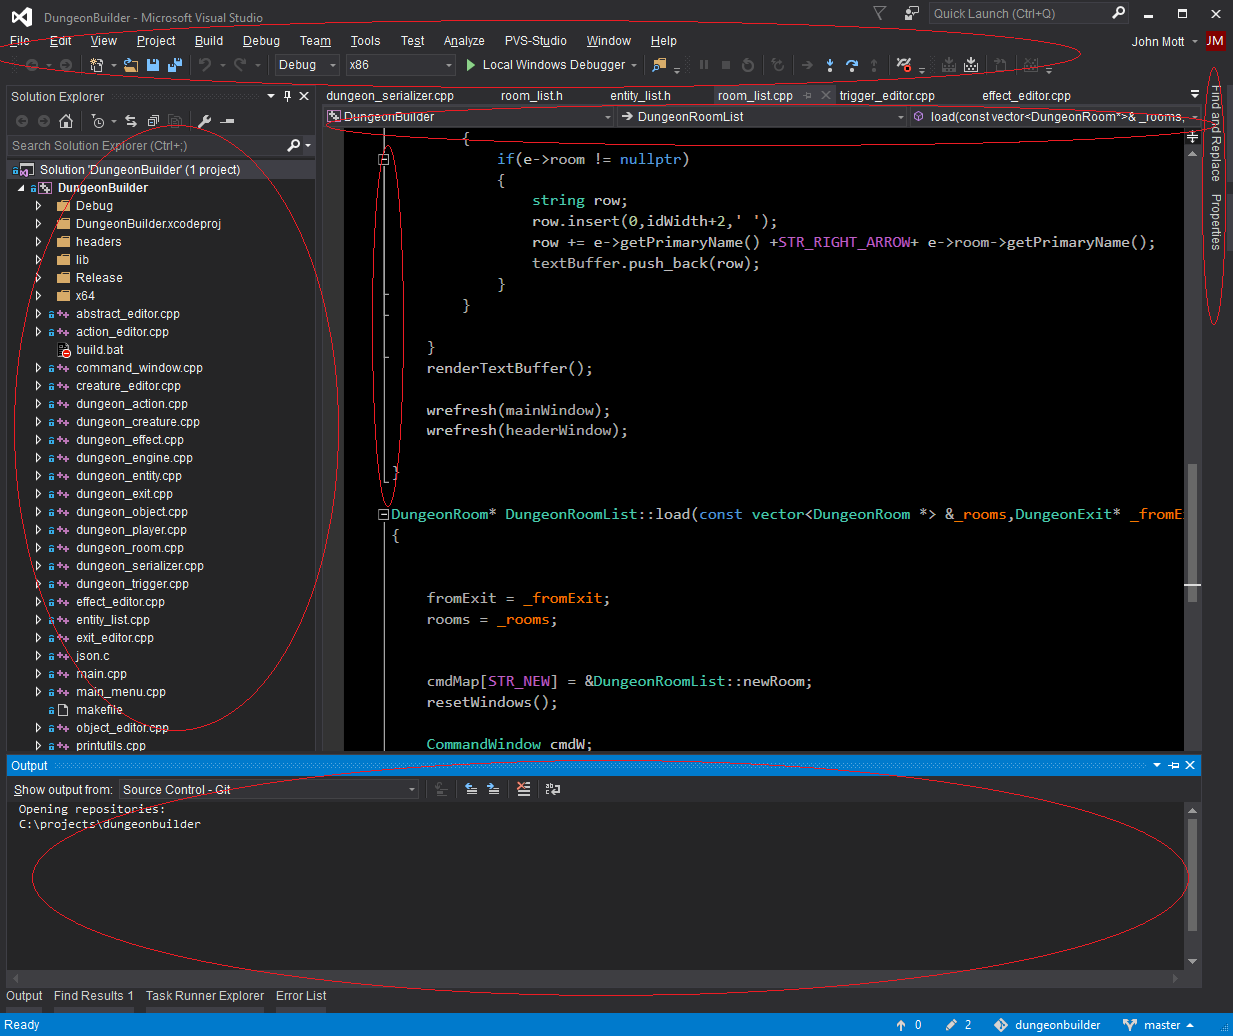
 Above is a screen shot of what Visual Studio looks like on most people’s desktops. There is a lot going on, and some people like it that way. They have a large monitor,
they use all of these features, and they suffer no performance and stability problems. Some of us however, are really only interested in seeing the code, and find the rest
of this to be a distraction that eats system resources and screen real estate. I will quickly explain how you can turn off any of these visual features that you do not actually want.
This can free you from visual distractions, or open up screen real estate to make side by side code editing a more practical endeavour. It may even reduce system resource use and
improve stability somewhat. (citation needed). These tips all assume you are using Visual Studio 2015, though some may work on older versions as well.
Remove any extensions you don’t use
Often times performance and stability issues with Visual Studio 2015 are due to extensions. Take a quick glance at your installed extensions by navigating to Tools->Extensions and Updates->Installed and see if there is anything there that you never actually use. If so, uninstall it. If you have used ReSharper for a long time, Visual Studio has slowly been adding a lot of the features that ReSharper used to add. If you don’t need ReSharper, you can get huge improvements in responsiveness by uninstalling it.
Disable CodeLens
The CodeLens feature of Visual Studio can be quite useful, it can display various meta-data about your code, and it’s state within the context of your source control. But if you do not make use of it often, you can save a great deal of visual clutter, and perhaps improve the resource utilization and responsiveness of Visual Studio as well by turning it off. You can disable it globally at Tools->Options->Text Editor->All Languages, or on a per-language basis if you prefer.
Solution Explorer and Output / Error Panes

These are very commonly used tools, but you can have your cake and eat it too with them. At the top of these panels you will see a thumb-tack icon. You can click that to toggle ‘Auto-Hide’. With ‘Auto-Hide’ enabled the panes will normally stay minified, but you can bring them up and put the focus in them with shortcut keys (CNTRL-ALT-L for solution explorer, CNTRL-ALT-O for Output, etc.) and then you can hop back to your code with the ESC key. While they are open, the focus will be in the pane and you can navigate them with the ARROW and ENTER keys, no need for the mouse. This is a great way to free up space, and maintain the usefulness of the solution explorer.
Hide The Navigation Bar and Code Outlining
Tools->Options->Text Editor->All Languages->General will give you the option to turn off the Navigation bar, a thin bar with dropdowns that notify you of the current method you are in. Some people like this feature, if you never use it, free up the space and turn it off. You can turn if on/off on a per language basis as well. I also like to actually turn line numbers on here.
Hiding the code outlining graphics, if you find those useless, is a bit more tricky. For some languages like C++ and C#, you can turn the feature off from within the language specific options under Text Editor. For others, like Javascript, you have to turn it off by hand on each file with CNTRL-M CNTRL-P
Reduce the Margins
By default there is a lot of horizontal space taken up by the Selection and Indicator margins. If you don’t make use of these, you can go to Tools->Options->Text Editor->General and unselect them both.
Cleaning up the Menu Bar
If you have been learning your keyboard shortcuts, the icons under the menu bar should be completely useless to you, and you can remove them by right clicking empty space in that area and deselecting any icon groups you don’t need. This can quickly free up vertical space. You can go even further, and hide the menu text as well with extensions like ‘Hide Main Menu’. You can still use the menu, as pressing the ALT key brings it back up. Just go to Tools->Extensions and Updates->Online and search for ‘Hide Main Menu’
Full Screen
Tap ALT-SHIFT-ENTER to go into fullscreen mode, this frees up some space as the window borders go away. This also makes the icons under the menu go away.
Tab Group Jumper
More of a productivity improvement than a de-crufting, but once you free up all this space, you may find you have room for 2 or 3 pages of code side by side. Unfortunately visual studio provides no way to jump between tab groups without the mouse. The Tab Group Jumper extension adds this functionality. Tools->Extensions and Updates->Online and search for ‘Tab Jumper’
After De-Crufting

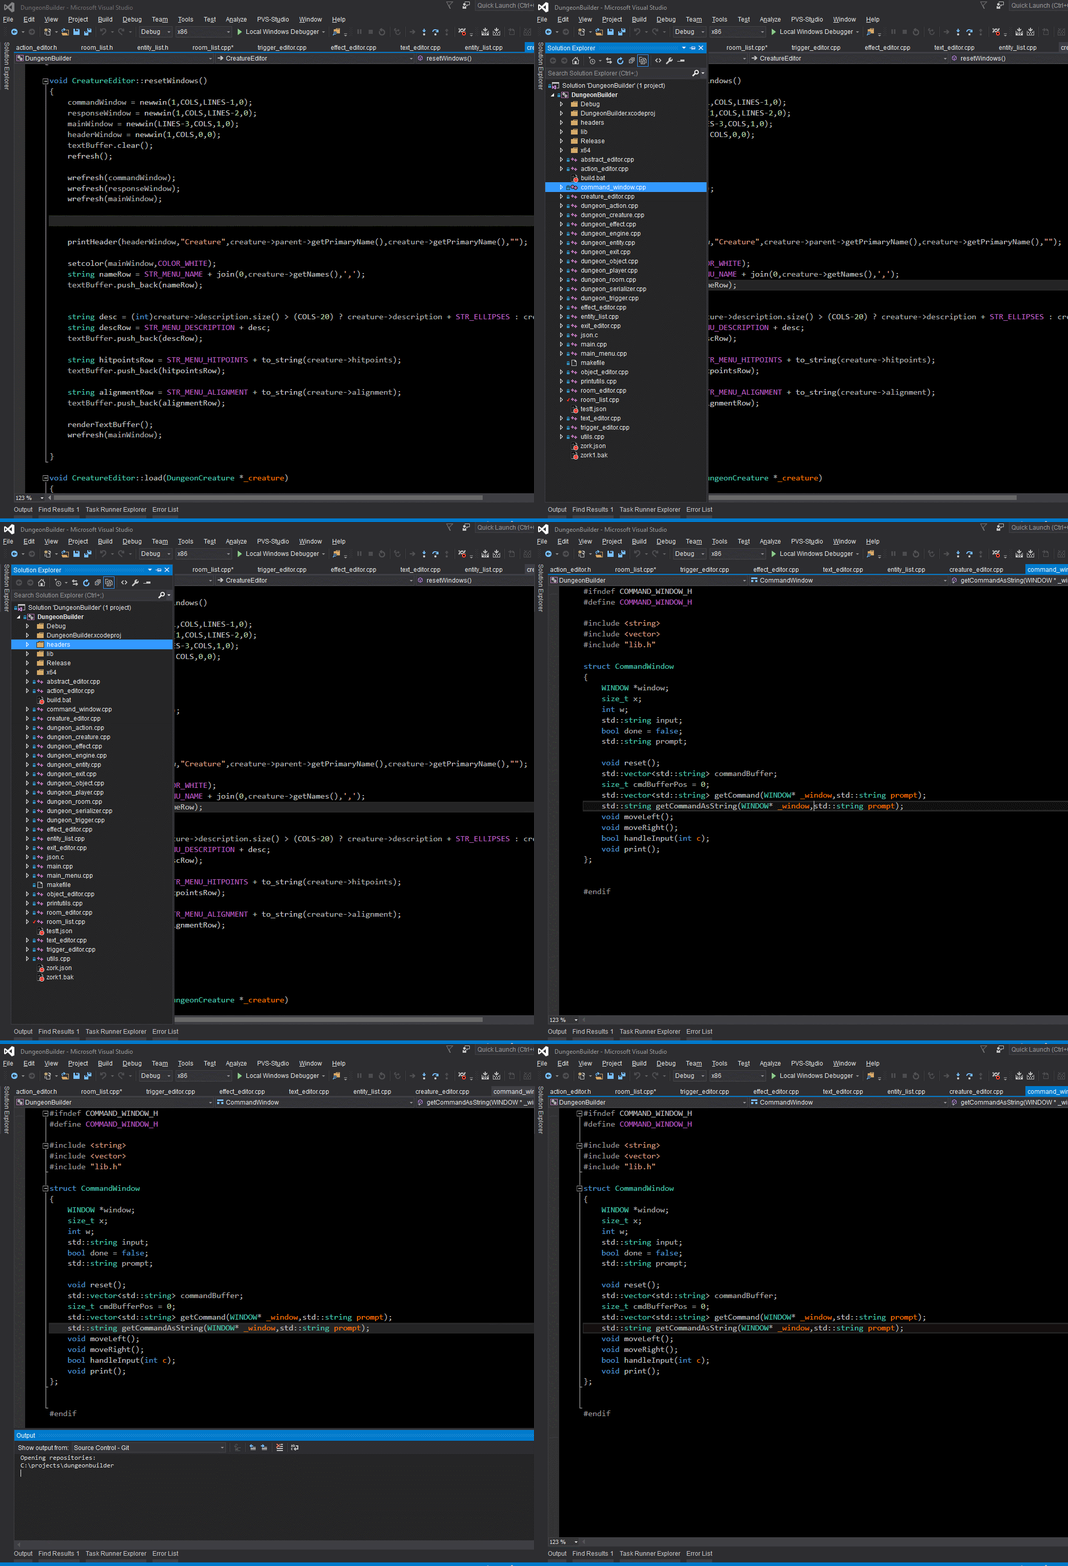
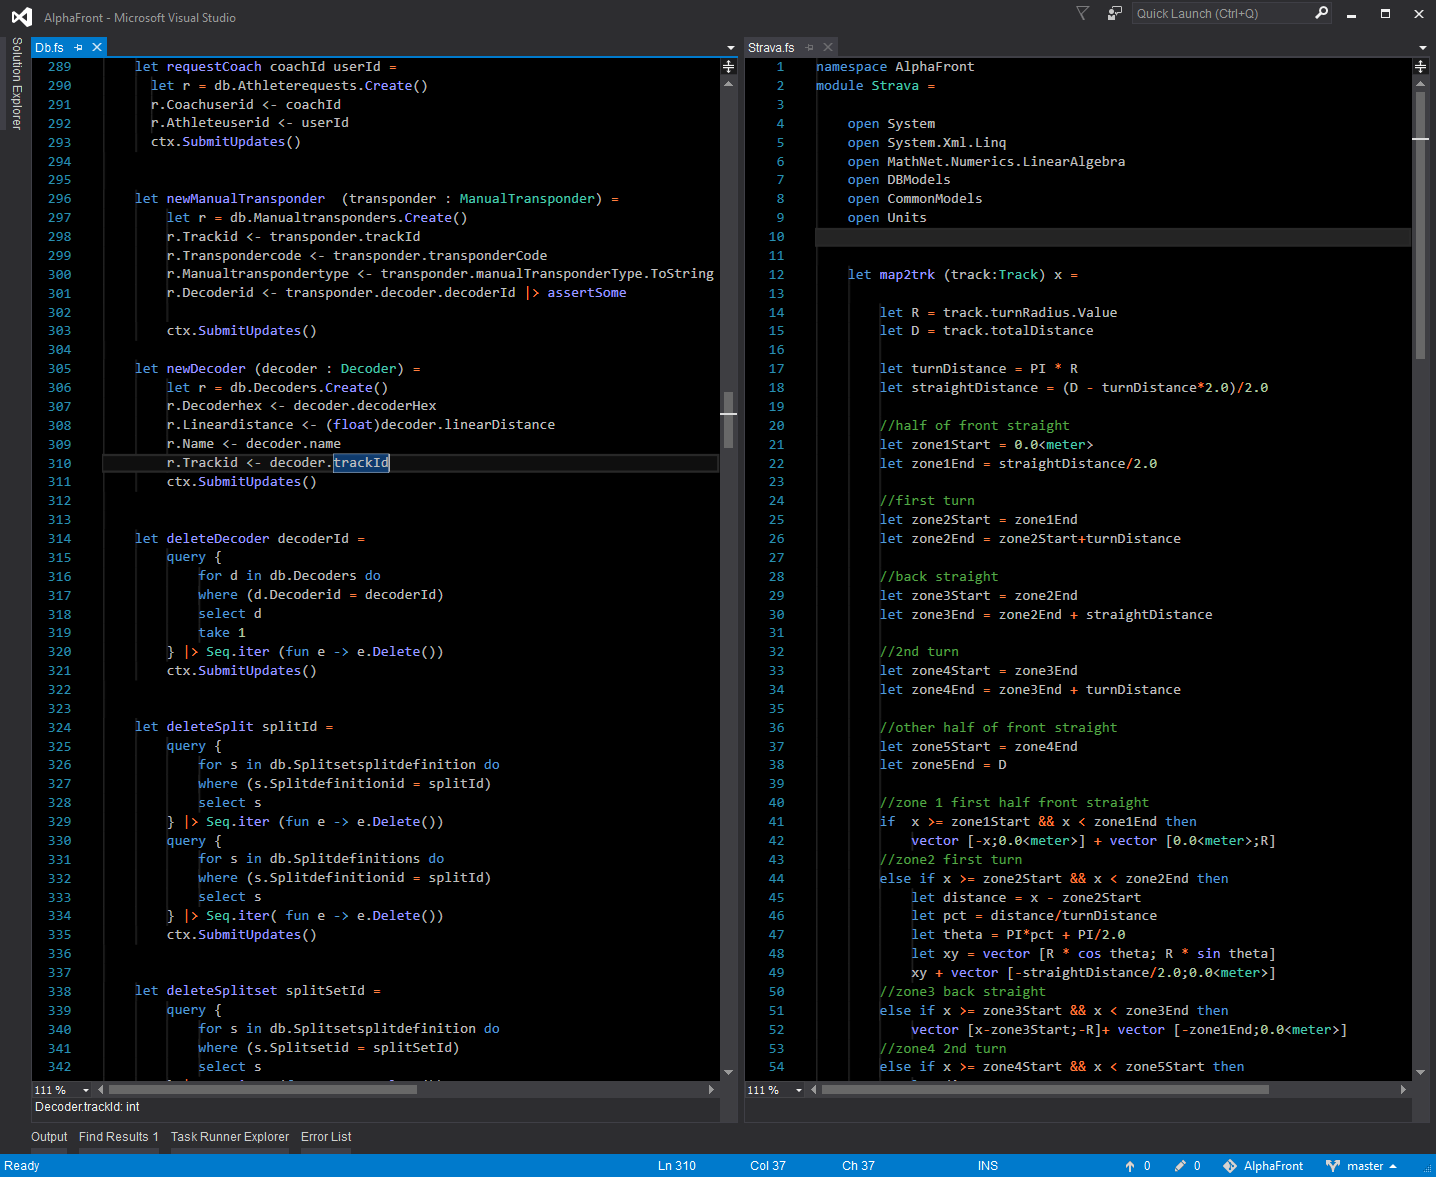
Now with space freed up, you have more room on your screen for code, side by side editing, or whatever else you desire.